Run any Hugging Face model on your own GPU
Two commands. Zero config. No YAML. No CLI flags to memorise.
uv tool install inferhost
inferhost
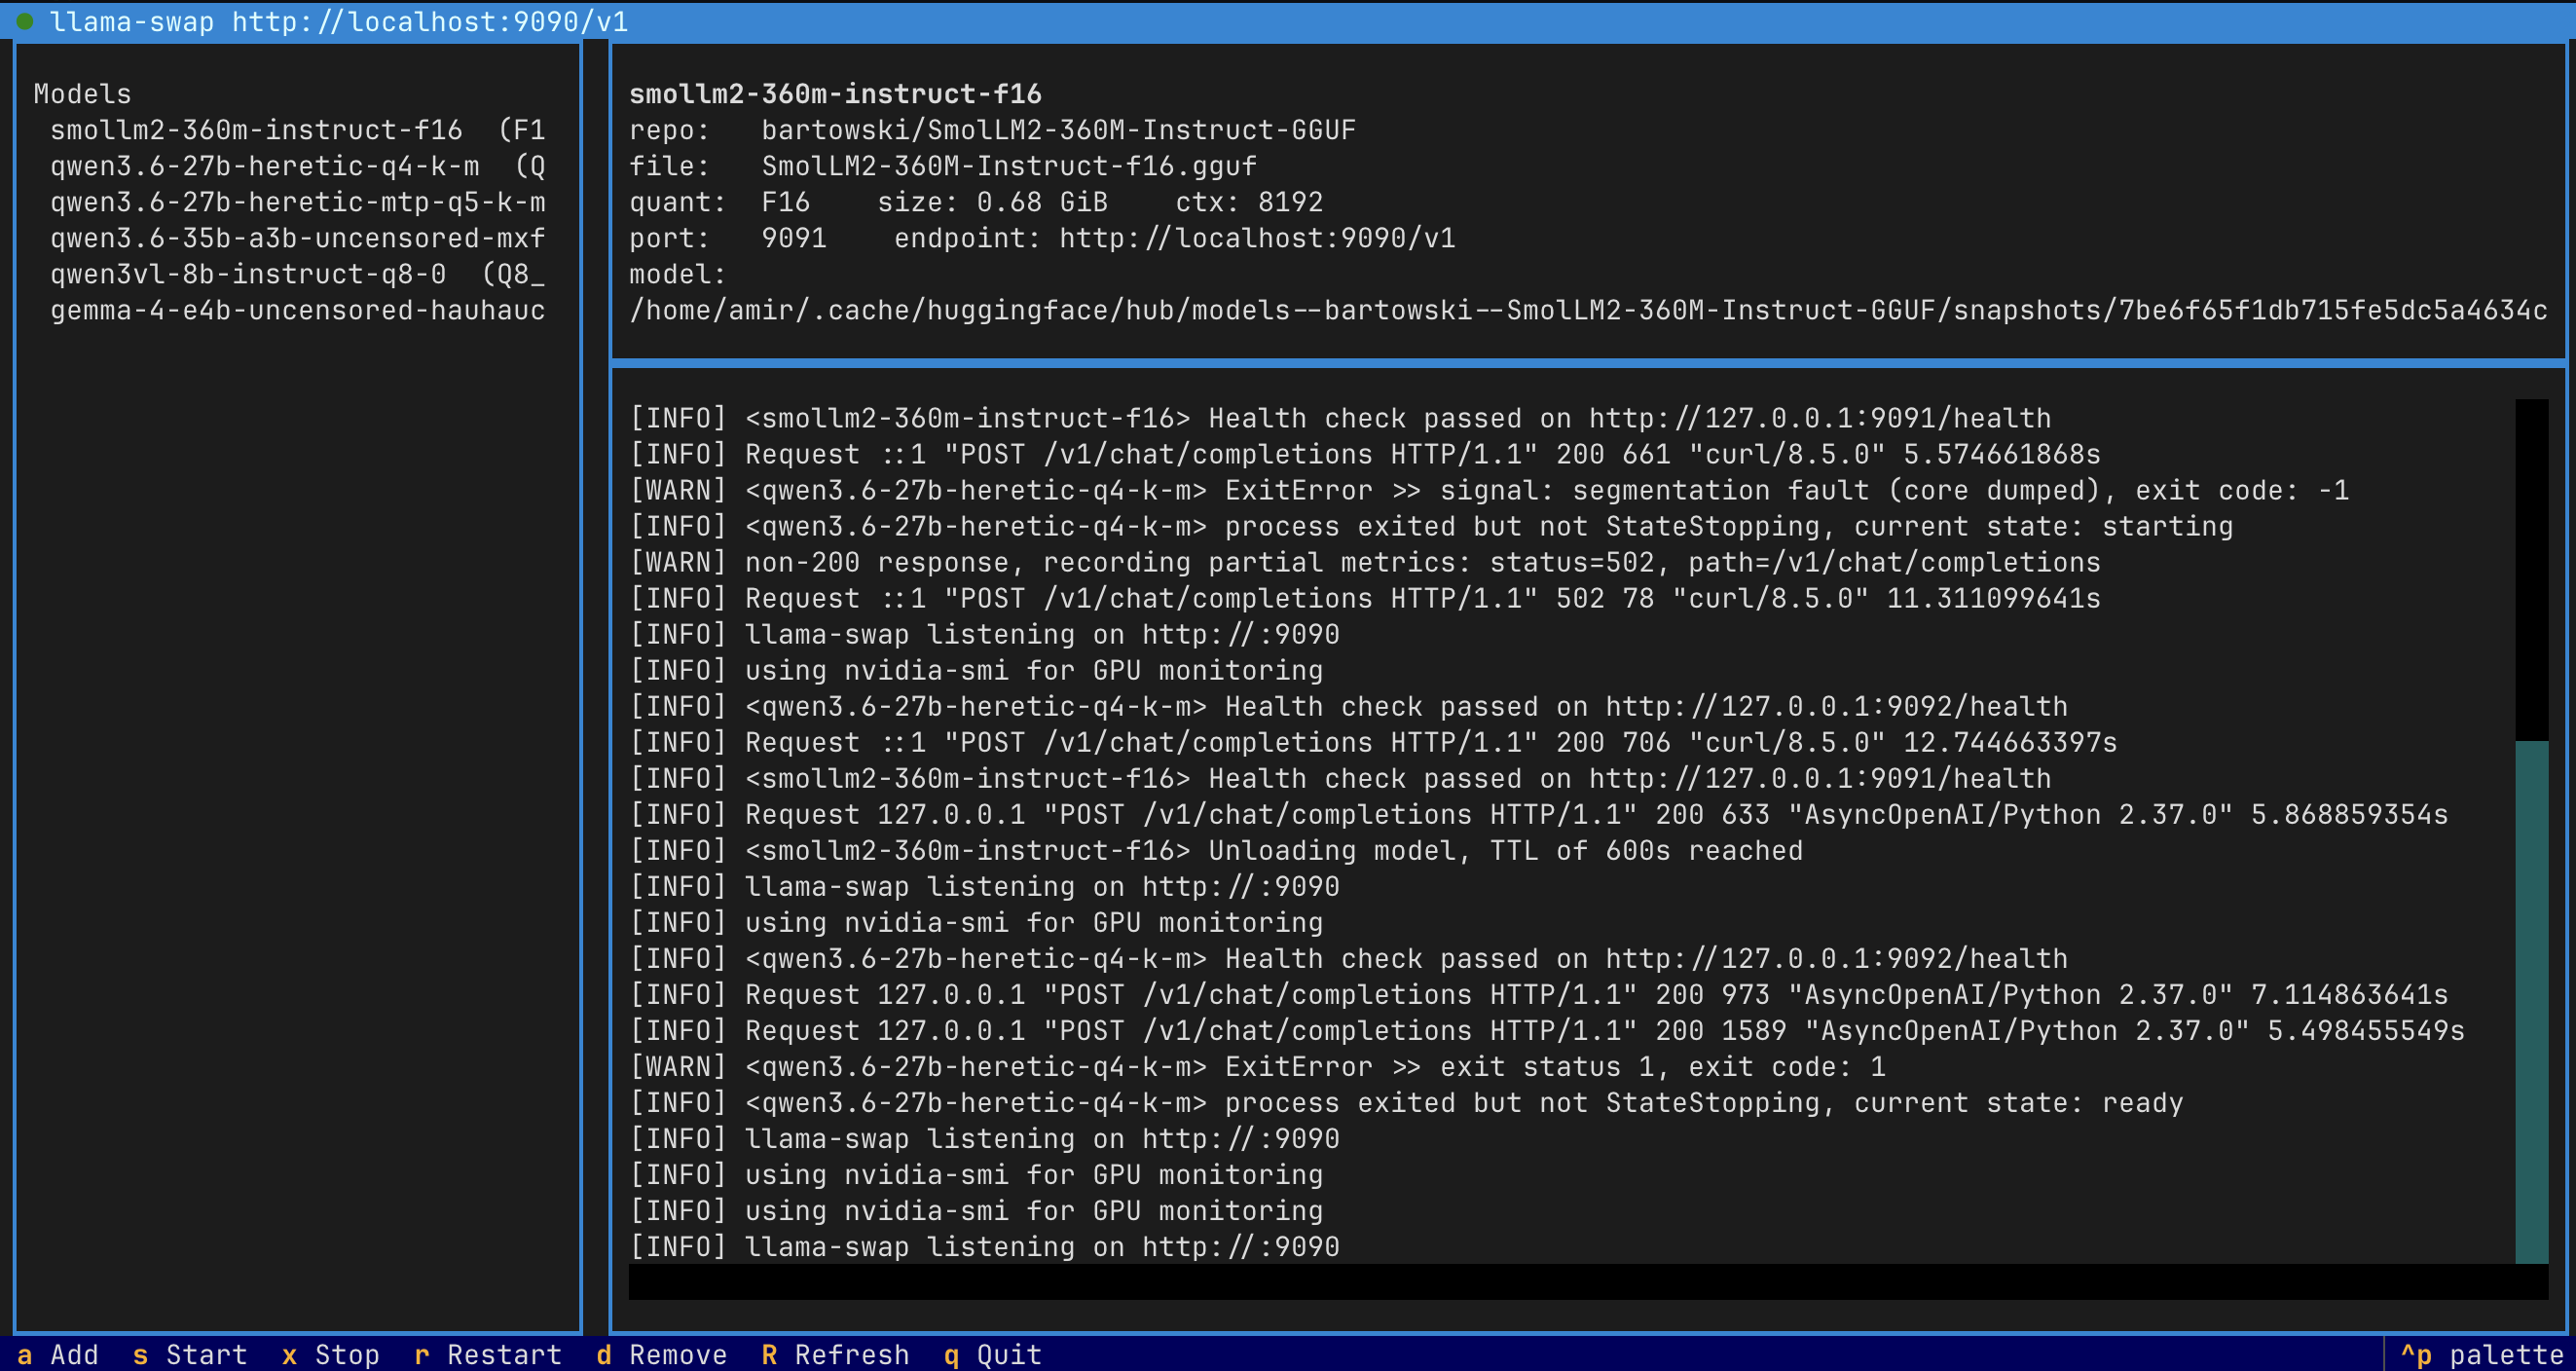
That’s it. inferhost opens a friendly terminal UI. The first launch downloads llama.cpp and llama-swap for you with a progress bar. Then you press a, paste a Hugging Face repo id, and you have an OpenAI-compatible endpoint running on http://localhost:9090/v1.
Install inferhost » Show me how it works » GitHub
What you get
- One command. No subcommands, no flags, no YAML. Just
inferhost. - TUI for everything. Add a model, rename its alias, set a per-model context window, change ports, toggle the gateway, watch every daemon’s status — all in one place, all from the keyboard. You never have to touch a YAML file.
- Smart quant pick. inferhost reads your GPU’s VRAM and chooses the highest-quality GGUF quant that will fit.
- OpenAI-compatible API. Drop-in for the OpenAI SDK and anything that speaks OpenAI (Continue, LibreChat, etc.). Tool calling and vision work out of the box.
- Vision built in. When a repo ships an
mmproj-*.gguf, inferhost auto-downloads it and wires-mmso OpenAI-style image inputs Just Work. - Stacked speculative decoding. MTP-capable models get
--spec-type draft-mtpand--spec-type ngram-modstacked automatically. - Auto-detected hardware. NVIDIA via CUDA / Vulkan, AMD via ROCm, Intel via SYCL / OpenVINO, Apple Silicon via Metal, or CPU fallback.
- Progress everywhere. Binary downloads, model downloads — every long step shows live progress.
The 60-second tour
1. Install
uv tool install inferhost
(Python 3.11+ on Linux or macOS. pipx install inferhost works too. See the Installation page for upgrade and uninstall steps.)
2. Launch
inferhost
On the very first run you’ll see a small progress screen while the runtime binaries download. After that, you land on the dashboard.
3. Add a model
Press a. Type a Hugging Face repo id, e.g.:
Qwen/Qwen2.5-7B-Instruct-GGUF
Press Enter. inferhost lists all available GGUF files in the repo, highlights the one that best fits your GPU with a ⭐, and shows a live progress bar while it downloads.
4. Use it
The dashboard shows the OpenAI-compatible endpoint at the top. Point anything at it:
curl http://localhost:9090/v1/chat/completions \
  -H "Content-Type: application/json" \
  -d '{
    "model": "qwen2.5-7b-instruct-q4-k-m",
    "messages": [{"role": "user", "content": "Hello!"}]
  }'
Or with the OpenAI Python SDK:
from openai import OpenAI

client = OpenAI(base_url="http://localhost:9090/v1", api_key="none")
resp = client.chat.completions.create(
    model="qwen2.5-7b-instruct-q4-k-m",
    messages=[{"role": "user", "content": "Hello!"}],
)
print(resp.choices[0].message.content)
Keys in the TUI
| Key | What it does |
|---|---|
a |
Add a Hugging Face model (downloads the GGUF + any mmproj-*.gguf) |
n |
Rename the highlighted model’s alias — also rewrites llama-swap + LiteLLM configs |
c |
Configure the highlighted model — per-model context window and KV cache quant |
P |
Pin the highlighted model — keep it co-resident in VRAM with other pinned models |
d or Delete |
Remove the highlighted model |
s |
Start llama-swap |
x |
Stop llama-swap |
r |
Restart llama-swap |
g |
Toggle the LiteLLM gateway on/off |
p |
Open the Preferences panel (change ports, context, GPU layers, …) |
R |
Refresh the view |
q |
Quit |
Architecture in one diagram
   Your app  ──HTTP──▶  llama-swap  ──spawns──▶  llama-server (llama.cpp)
                       (port 9090)              (GGUF inference)
                            ▲
                            │
                  (optional) LiteLLM gateway
                            │
                       (port 9001)
- llama.cpp does the actual inference, using whichever prebuilt backend matches your GPU.
- llama-swap sits in front of multiple llama.cpp instances and lazy-loads them on the first request, then unloads after idle.
- LiteLLM (optional) adds aliases, routing, and rate-limiting across many providers.
Where to next?
- Installation — pip, uv tool, gateway extra, system requirements
- Usage — adding models, OpenAI clients, integrations
- Configuration — every environment variable explained
- Troubleshooting — common errors and how to fix them
- Source on GitHub
- Package on PyPI